Creating sites and editing QR posters in WorkSign
Creating A Site
Step One: Accessing WorkSign
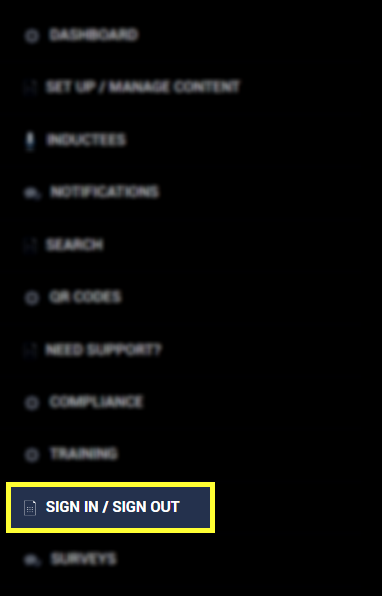
To access your WorkSign portal, first login to your Online Induction portal and click on SIGN IN / SIGN OUT button in the menu on the left side of the screen.
Step Two: Navigating to the Sites Configuration page
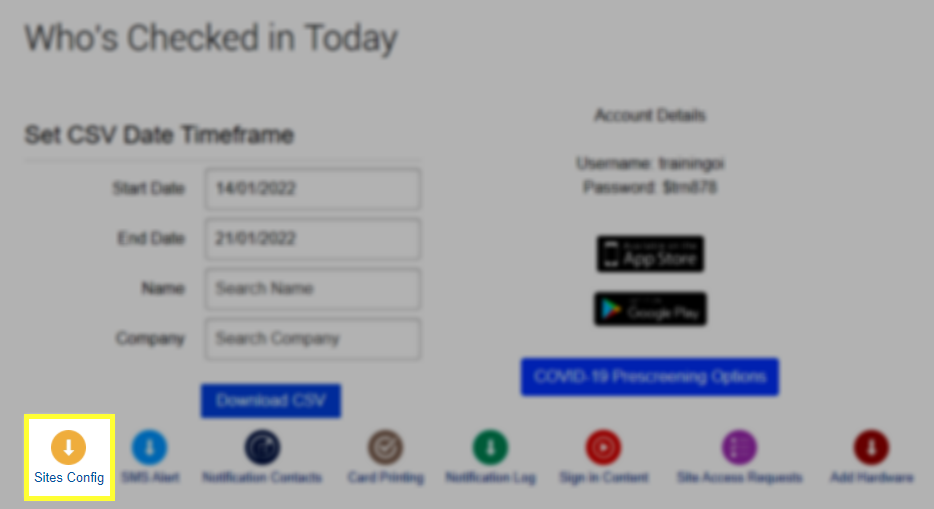
The dashboard of the WorkSign app will now be displayed. To create a site and a linked QR code for tracking sign in and sign out data, click on the Sites Config button highlighted below.
Step Three: Configuring Sites
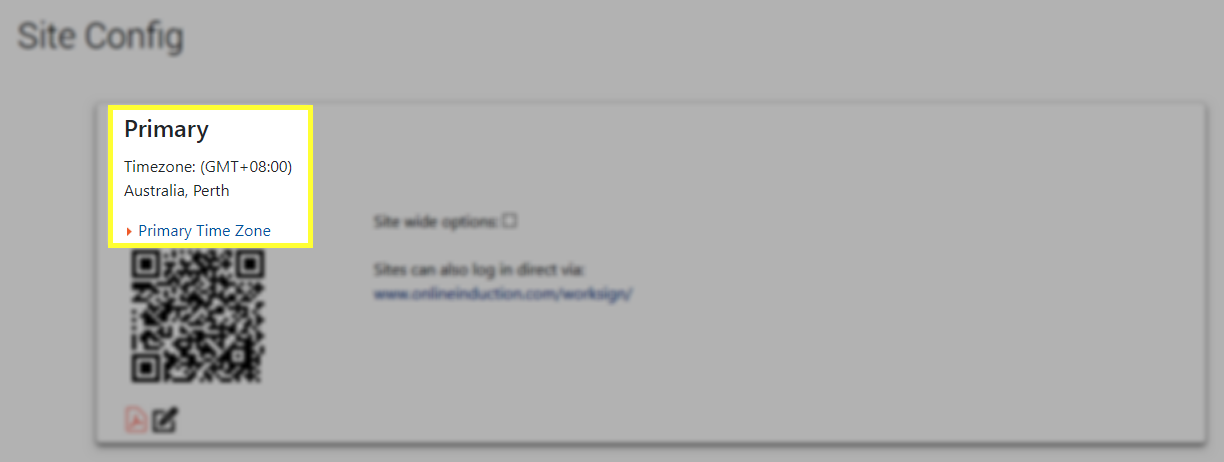
Upon accessing the Sites Config area for the first time, it is important to confirm that your primary time zone is correct. If it is not set to the correct time zone, click on the Primary Time Zone button and select the correct time zone.
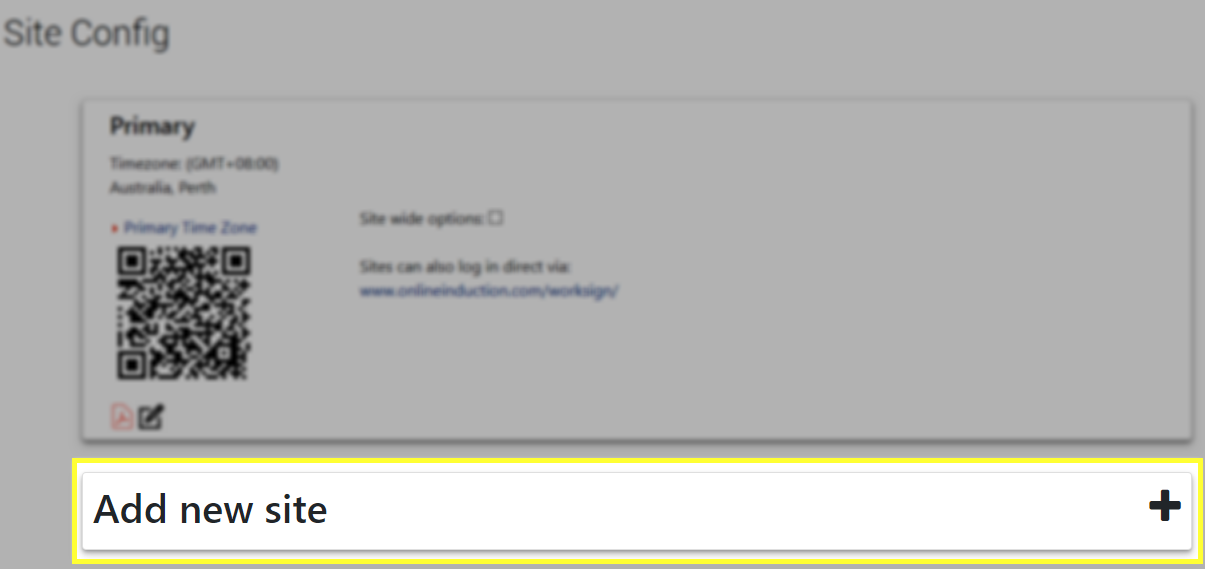
If your time zone is configured correctly, select the Add new site option highlighted below.
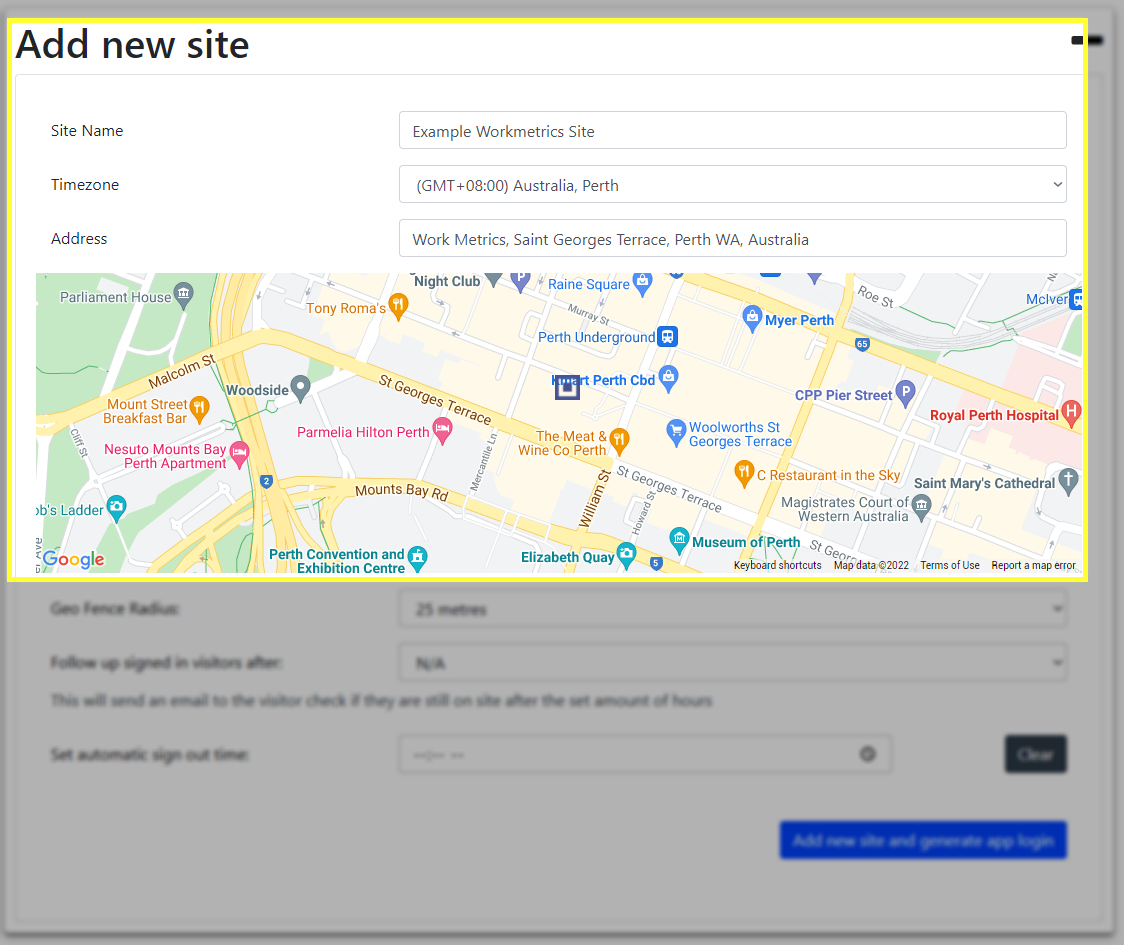
Clicking on Add new site will expand the section to display configuration options for your site. It is important to include:
1. A name that does not include special characters (!@#$%)
2. The correct time zone for the site. This can be a different time zone to your primary time zone
3. The address of your site. Typing within the text box provided you will search Google Maps results.
There are additional setup options available. These include:
1. Configuring a Geo Fence Radius to sign users out if their distance from the site is greater than the distance chosen from the dropdown box
2. Sending follow up email to visitors (those without a recognised Online Induction account) to confirm their presence on site
3. Setting a time for all users to be automatically signed out of the site.
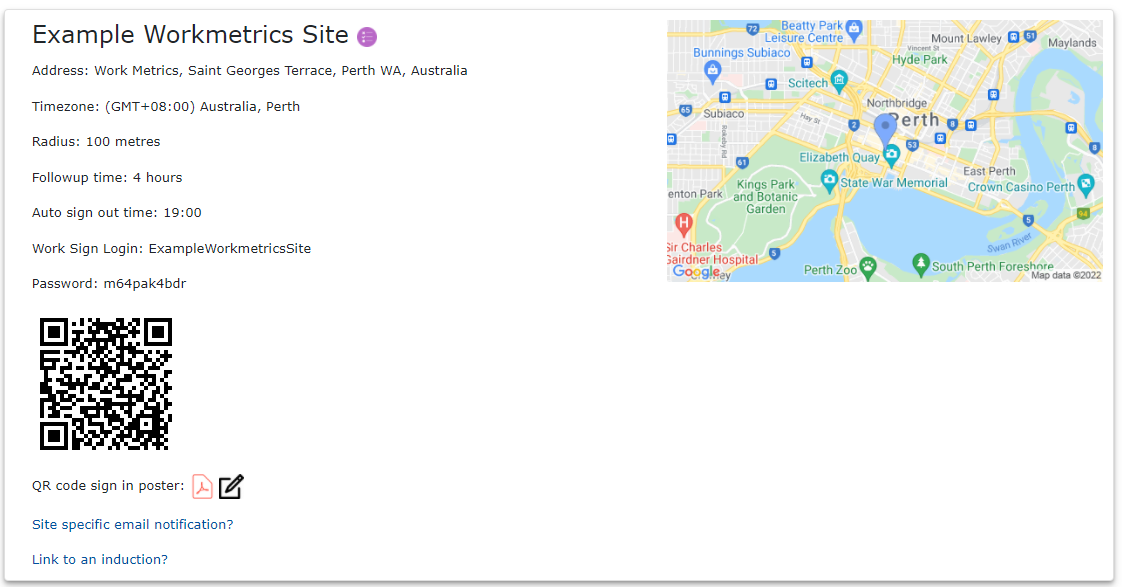
Once configured, your site will look similar to the example below.
TIP: The listed credentials can be used to sign into the WorkSign app on a mobile device or tablet. Doing so allows the setup of a shared tablet to facilitate signing in and out of a site, rather than QR codes.
Editing QR code sign-in posters
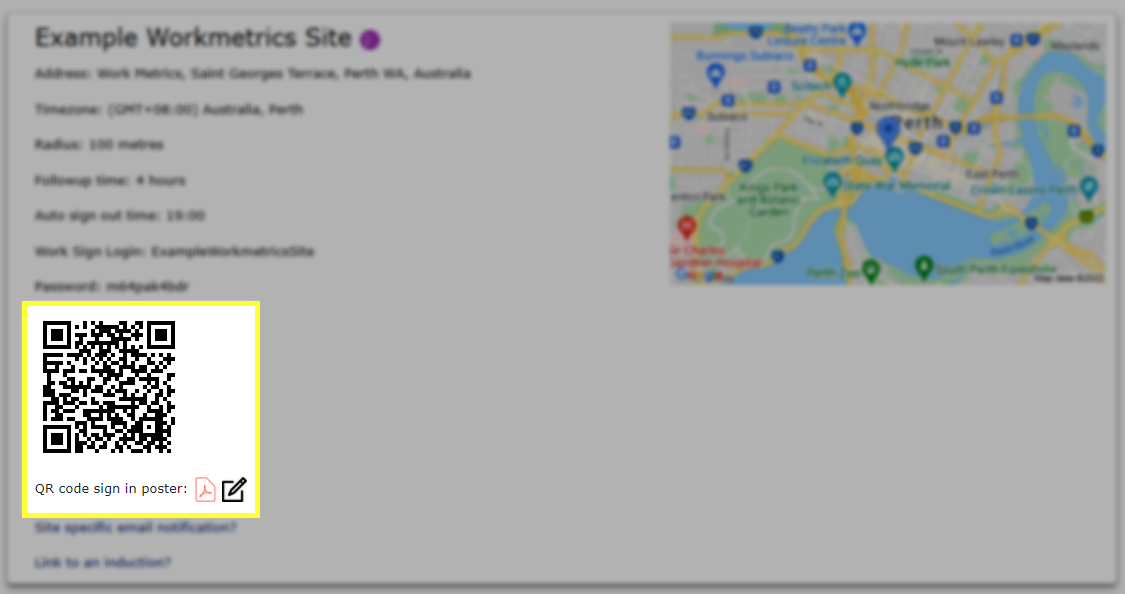
Each created site also features a QR code poster in a PDF format. These posters allow users to sign in and out of your created sites.
To preview and download the existing poster, click the red PDF icon.
To edit the poster, click the black pen and paper icon.
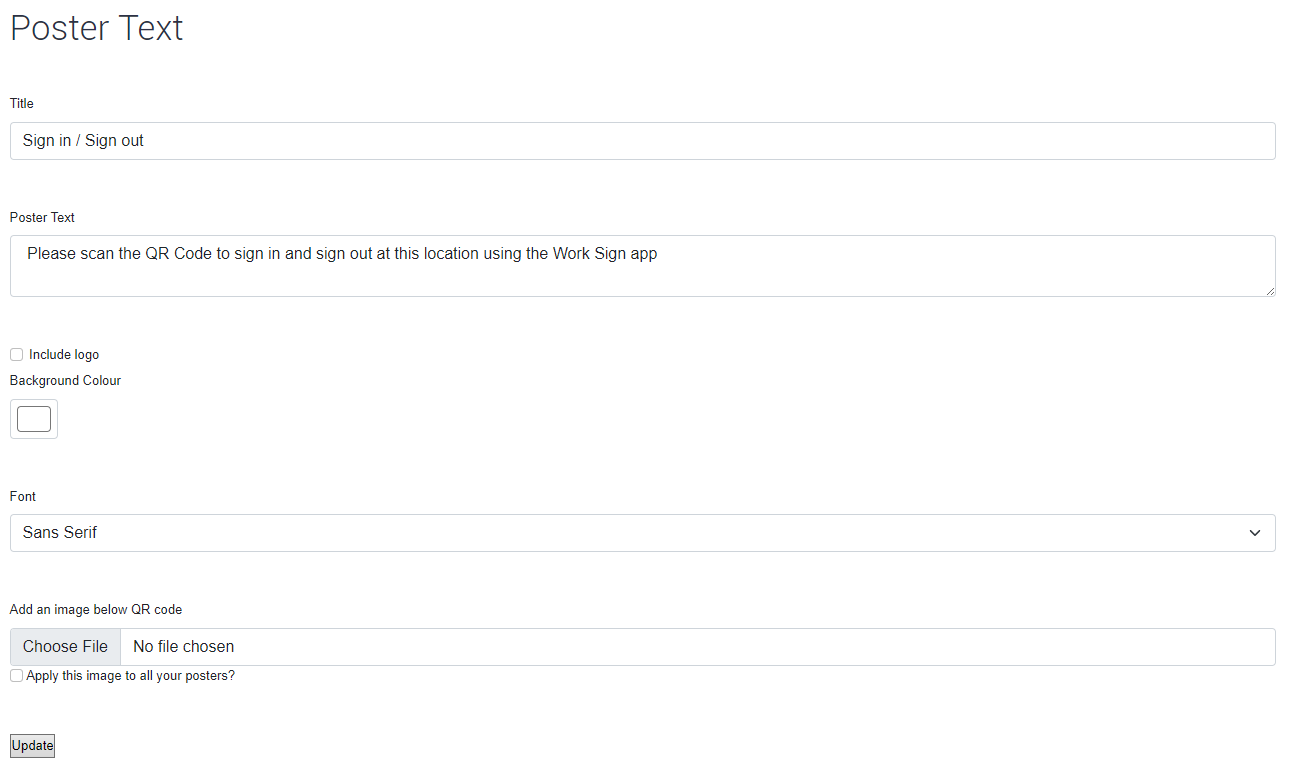
The edit poster screen shown below provides the ability to configure the title of your poster, add information for users to read and include your company logo or an image. After making the required changes to the poster, click the Update button to save.
TIP: If you encounter issues with blank lines not being displayed on your poster, try typing the <br> command at the end of text after which you would like to include a blank line. An example of this can be viewed below.
